How to Create a Room Concept: The Complete 8-Phase Guide for 2026
You have a new residential project. The client has sent you 47 WhatsApp messages, a Pinterest board with 200 pins that contradict each other, and a brief that reads "I want it modern but warm, minimalist but cosy, and my budget is... flexible." Sound familiar?
The difference between a project that spirals into chaos and one that runs smoothly comes down to one thing: a proper room concept. Not a mood board. Not a Pinterest collection. A structured, professional planning process that transforms vague client wishes into a buildable, sourceable, deliverable design.
In this guide, you will learn the exact 8-phase process that professional interior designers across Europe use to develop room concepts — complete with costs, tools, common mistakes, and practical examples from real projects.
What Is a Room Concept (and Why Most Designers Skip Steps)
A room concept is the systematic planning process that bridges the gap between a client's vision and a finished space. It covers everything from spatial analysis and zoning to mood boards, colour palettes, material selection, lighting design, and furniture placement.
The problem? Most freelance designers jump straight from the client brief to browsing IKEA.de or Maisons du Monde for furniture inspiration. They skip the analytical phases — and then wonder why the project budget balloons, the client requests endless revisions, and the final result feels disconnected.
A complete room concept includes eight distinct phases. Each builds on the previous one. Skip phase 3 (zoning) and your furniture plan in phase 8 will not work. Rush phase 5 (colour concept) and your material selections in phase 6 will clash.
Here is the full process, with practical guidance for each phase.
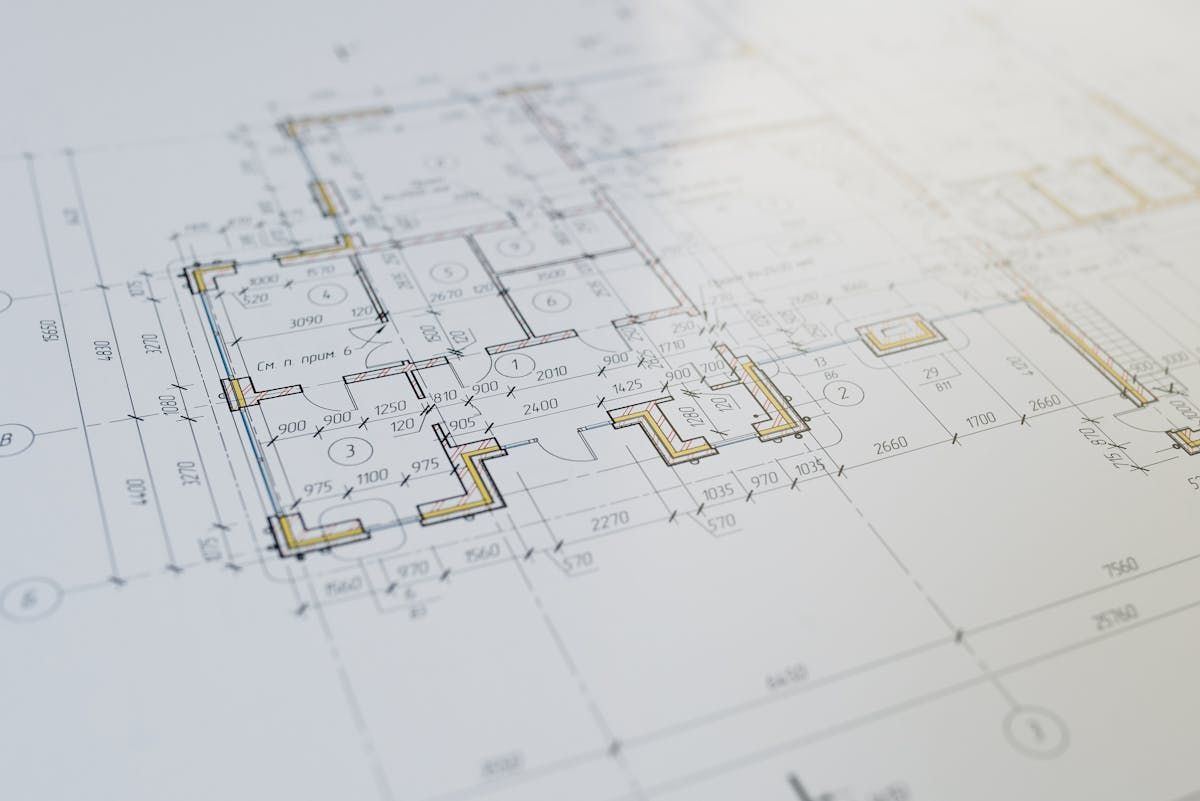
Phase 1: Bestandsaufnahme — The Site Assessment
Before you open a single design tool, you need to understand what you are working with. The Germans call this the Bestandsaufnahme — a thorough inventory of the existing space.
What to document:
- Exact room dimensions — measure walls, ceiling height, window positions, door swings. Never trust the architect's plans alone; buildings settle, renovations shift things
- Natural light patterns — visit at different times of day. A north-facing living room in Stockholm behaves very differently from a south-facing one in Barcelona
- Existing infrastructure — electrical outlets, plumbing points, radiator positions, load-bearing walls
- Architectural features — ceiling mouldings, original flooring, built-in storage, oddly placed columns
- Problem areas — damp spots, uneven floors, noise from adjacent rooms or streets
Pro tip: Take photos with a wide-angle lens from every corner. You will reference these dozens of times throughout the project. Bring a laser distance measurer (EUR 30-80 from any Leroy Merlin or Dedeman) — it pays for itself on the first project.
Recommended minimum room sizes to keep in mind:
- Living room: 30-40 m2
- Kitchen: 10-15 m2
- Children's room: minimum 12 m2
- Bathroom: minimum 8 m2
Phase 2: Needs Analysis — Understanding How the Space Will Be Used
This is where you earn your fee. Anyone can pick nice furniture. Understanding how a family of four actually uses a 35 m2 living-dining area — that is professional skill.
Key questions for your client:
- Who uses this room, and when? A couple who both work from home needs a very different living room than retirees who entertain grandchildren
- What activities happen here? Watching television, reading, hosting dinner parties, children playing, video calls?
- What are the non-negotiables? "I must have a reading nook" or "The dining table seats eight at Christmas" or "The cats need their climbing wall"
- What is the realistic budget? Not the "flexible" budget — the actual number. In 2026, professional room concept services across Europe run EUR 650-1,500 per room, with initial consultations at EUR 180-500 for 2-3 hours
- What is the timeline? A complete room concept with 3D visualisation takes 2-4 weeks of design time
Document everything in writing. This becomes your brief — the document you refer back to when the client says, three weeks later, "Actually, I was thinking of something completely different."
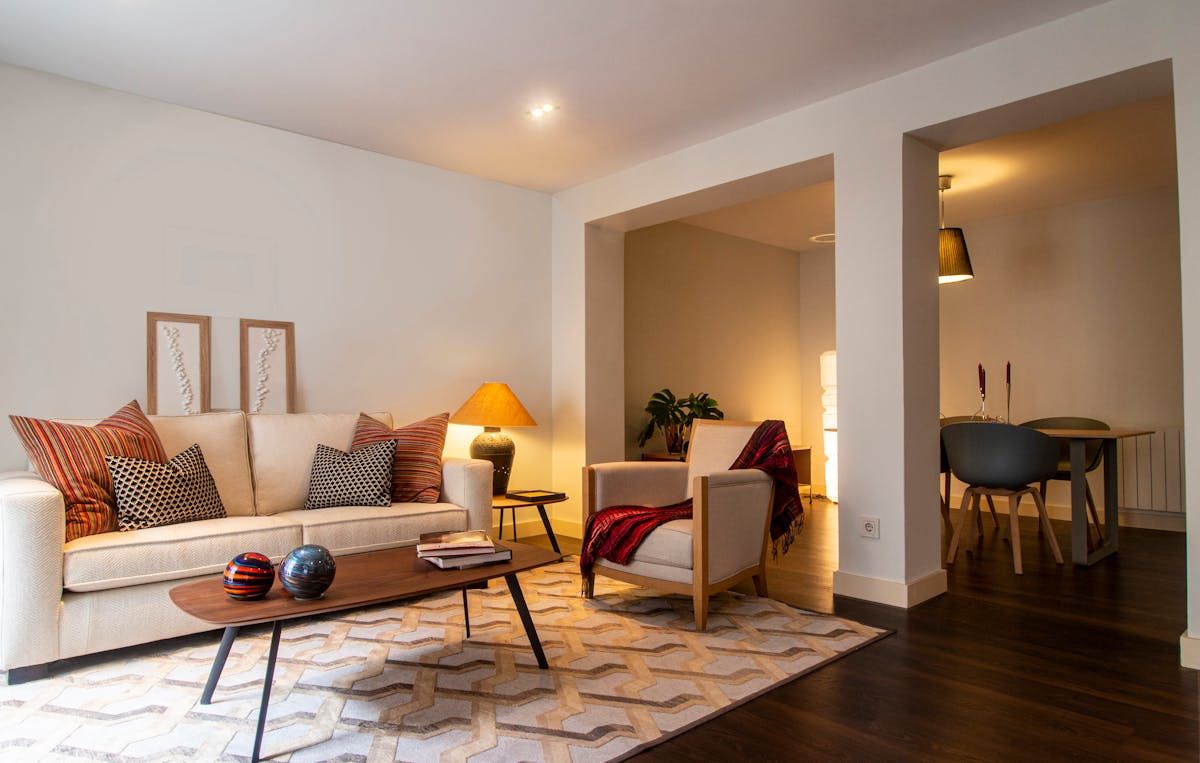
Phase 3: Zoning — Dividing the Space Into Functional Areas
Zoning is arguably the most overlooked phase, and yet it determines whether a room works or merely looks nice in photos.
What zoning means in practice:
You divide the room into functional areas — a conversation zone, a dining zone, a work zone, a circulation path — before selecting a single piece of furniture. Think of it as urban planning at room scale.
Common zoning approaches:
- Activity-based zoning — Group furniture around activities. The reading corner gets the best natural light. The television area faces away from windows to avoid glare
- Traffic flow planning — Ensure clear circulation paths (minimum 80 cm wide). People should be able to walk from the entrance to the kitchen without navigating an obstacle course
- Visual zoning — Use rugs, lighting changes, or ceiling details to define areas without physical barriers. This is especially important in open-plan spaces
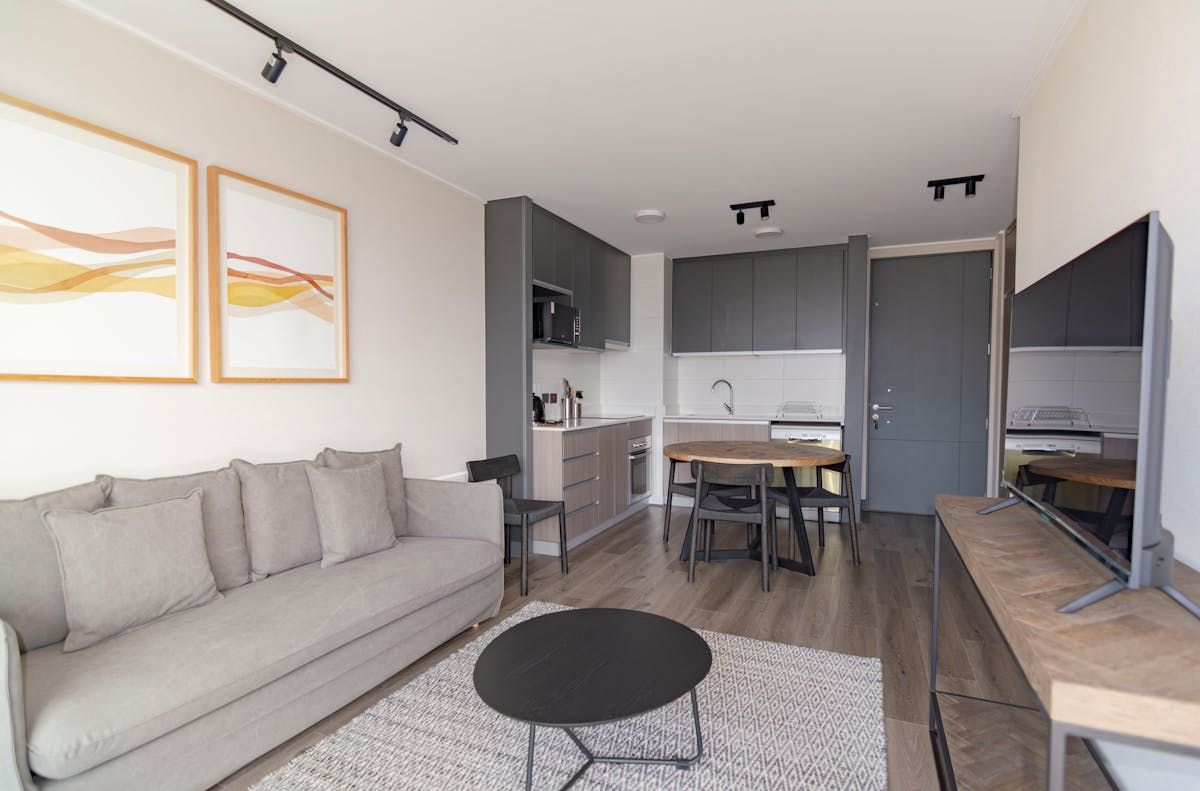
Common mistake: Treating rooms in isolation. The hallway, living room, kitchen, and dining area in a modern European flat are often connected — visually and functionally. Your zoning plan must account for sightlines and flow between rooms.
Whether you are working on a canal house in Amsterdam with rooms barely 3.5 metres wide, or a sprawling villa renovation outside Milan, the zoning phase saves you from the most expensive mistake: buying furniture that does not fit the space.
Phase 4: Mood Board Creation — Aligning Vision Before Committing
The mood board is your communication tool. It is not decoration — it is a decision-making device that prevents misunderstandings before they become costly.
What belongs on a professional mood board:
- 3-5 reference images showing the overall atmosphere (not 50 random Pinterest pins)
- Material samples — actual textures, not just photos. Order samples from Westwing, HAY, or Ferm Living; clients need to touch bouclé to know if they want a bouclé sofa
- Key colour palette — extracted from your reference images, showing dominant, secondary, and accent colours
- 1-2 hero pieces — the signature furniture items that anchor the design direction
- Exclusions — what the design is NOT. "Not cold minimalism. Not cluttered maximalism. Not Scandi-generic."
Present the mood board in person or via video call. Never email it without context. Clients misinterpret images constantly.
If you are managing multiple room concepts across a project, keeping track of which materials, products, and costs belong to which room quickly becomes overwhelming. Tools like [ArcOps](https://arcops.studio) are designed to keep your product selections, supplier details, and cost breakdowns organised by project stage — so you can focus on design rather than spreadsheet management.
Phase 5: Colour Concept — The 60-30-10 Rule
Colour is where amateur designs fall apart and professional ones shine. The foundation of every successful colour concept is the 60-30-10 rule:
- 60% dominant colour — walls, large surfaces, major flooring. This is your canvas. In most European residential projects, this is a warm neutral: soft white, greige, warm taupe
- 30% secondary colour — upholstered furniture, curtains, rugs, large textiles. This adds character. Think a deep terracotta sofa, sage green curtains, or navy velvet dining chairs
- 10% accent colour — cushions, art, vases, statement lighting. This is where you add personality and the pieces your client photographs for Instagram
Practical colour concept tips:
- Always test paint colours on-site, on the actual wall. A swatch from Farrow & Ball looks entirely different under fluorescent office lighting versus the natural north light in a Berlin apartment
- Consider the room's orientation. South-facing rooms in Mediterranean markets can handle cooler blues and greens. North-facing rooms in Nordic countries need warmer undertones
- Create colour continuity between connected rooms. The accent colour in the living room can become the secondary colour in the adjacent hallway
- Account for existing fixed elements you cannot change — flooring, kitchen countertops, bathroom tiles. Your colour scheme must work with these, not fight them
Phase 6: Material Concept — Where Design Meets Reality
The material concept translates your mood board and colour palette into specific, sourceable products and finishes. This is where the project transitions from design to procurement — and where most designers lose significant time.
Key material decisions:
- Flooring — engineered oak, polished concrete, terrazzo tiles, natural stone? Each has different costs (EUR 25-150/m2 installed), maintenance requirements, and acoustic properties
- Wall finishes — paint, wallpaper, decorative plaster, timber cladding? Consider durability in high-traffic areas
- Textiles — upholstery fabrics, curtains, rugs, cushions. Specify performance ratings for residential use
- Hard surfaces — countertops, splashbacks, bathroom tiles. Natural stone from Italian quarries versus engineered alternatives from XXXLutz or Leroy Merlin
- Metals and hardware — brushed brass, matte black, polished nickel? Ensure consistency across door handles, cabinet pulls, towel rails, and light fittings
The sourcing challenge for European designers:
This is the phase where you typically open 15-20 browser tabs. You are comparing oak flooring prices on IKEA Business, checking availability on Home24, requesting trade samples from HAY, and trying to remember whether that terrazzo tile you saw at Maison & Objet last September was from the Italian or the Portuguese supplier.
This product sourcing phase is exactly where [ArcOps](https://arcops.studio) saves European designers hours every week — searching across 50+ retailers from one place, tracking prices in EUR, RON, or GBP, and keeping every product linked to the right project and room.
Phase 7: Lighting Concept — The Three Layers
Lighting is the most underestimated element of any room concept. A space with beautiful furniture and terrible lighting feels uncomfortable. A modest space with excellent lighting feels luxurious.
The three-layer lighting concept:
- Ambient lighting (Grundbeleuchtung) — the overall room illumination. Recessed downlights, flush ceiling fixtures, or cove lighting. Aim for 150-300 lux in living spaces
- Task lighting (Zonenbeleuchtung) — focused light where you need it. Reading lamps, under-cabinet kitchen lights, desk lamps. Aim for 300-500 lux for tasks
- Accent lighting (Akzentbeleuchtung) — the design layer. Picture lights, shelf lighting, statement pendants, candles. This creates atmosphere and directs attention
Every room needs all three layers. A common mistake is relying on a single central ceiling light — the so-called "builder's special" — which creates flat, unflattering illumination and zero atmosphere.
Practical lighting tips:
- Plan electrical points during the zoning phase. Moving a pendant light 30 cm to the left after the electrician has finished costs EUR 200-400
- Specify colour temperature: 2,700K (warm) for living and bedroom spaces, 3,000-3,500K (neutral) for kitchens and bathrooms, 4,000K (cool) for dedicated workspaces
- Budget for dimmers everywhere. A EUR 15 dimmer switch transforms a room from daytime functionality to evening ambience
- Explore statement pieces from European lighting brands: Flos and Artemide from Italy, Louis Poulsen from Denmark, or accessible options from IKEA's SINNERLIG and SYMFONISK ranges
Phase 8: Furniture Plan and Implementation
The final phase brings everything together. Your furniture plan is the practical document that turns the room concept into a shopping list, a contractor brief, and a timeline.
What the furniture plan includes:
- Scaled floor plan showing every piece of furniture, its exact dimensions, and its position
- Product specifications for each item — supplier, model, material, colour, price, lead time
- Budget breakdown by category (furniture, lighting, textiles, accessories, contractor work)
- Implementation timeline — what gets ordered when, what gets installed in which sequence
- Contingency items — alternatives for pieces with long lead times or uncertain availability
Professional costs for this phase:
A complete room concept with 3D visualisation runs EUR 1,000-2,500 per room in 2026, depending on complexity and the designer's experience. Hourly rates range from EUR 85-150 for established freelancers to EUR 130-220 for senior designers in prime locations like Munich, Paris, or Milan.
For larger residential projects, some designers apply the HOAI fee structure (common in Germany and Austria), calculating fees at 10-12% of the project's construction and furnishing budget.
DIY vs Professional: When to Call a Designer
Not every room needs a professional concept. Here is a practical guide:
You can handle it yourself:
- Single-room refreshes with no structural changes
- Updating soft furnishings (curtains, cushions, rugs) within an existing colour scheme
- Simple bedroom or home office setups with standard dimensions
You need a professional:
- Open-plan layouts combining kitchen, dining, and living zones
- Projects involving load-bearing wall removal or significant structural changes
- Commercial spaces (restaurants, hotels, retail) with regulatory requirements
- Rooms with challenging features — very low ceilings, irregular shapes, limited natural light
- Cross-border projects where you are sourcing from multiple countries
The investment often pays for itself. In home staging projects, professionally designed spaces sell 15% above asking price, with 50% receiving offers within 4 weeks.
Ready to streamline the sourcing and project management side of your room concepts? [ArcOps](https://arcops.studio) is built for European interior designers who are tired of juggling 50 browser tabs, three currencies, and scattered product lists. Join the waitlist — it is free, and founding members get early access.
Key Takeaways
- A professional room concept follows 8 sequential phases: site assessment, needs analysis, zoning, mood board, colour concept, material concept, lighting concept, and furniture plan
- Never skip the zoning phase — it prevents the most expensive mistake of all: furniture that does not fit the space or the client's lifestyle
- The 60-30-10 colour rule (dominant, secondary, accent) is the foundation of every professional colour scheme
- Three-layer lighting (ambient, task, accent) is non-negotiable — a single ceiling light is never enough
- Professional room concept services cost EUR 650-1,500 per room in 2026, with complete 3D visualisations at EUR 1,000-2,500
- Document every decision in writing — this protects you when clients change their minds mid-project
- The material sourcing phase (phase 6) is where most designers lose time — centralised product search tools eliminate hours of browser-tab chaos
Frequently Asked Questions
How long does it take to create a complete room concept?
A thorough room concept for a single residential room typically takes 2-4 weeks of design time, including client meetings, site visits, sourcing, and revisions. Complex open-plan spaces or commercial projects can take 4-8 weeks. The site assessment (phase 1) takes half a day, the needs analysis (phase 2) requires 1-2 client sessions, and the bulk of the time goes into phases 4-7 (mood board through lighting).
Can I create a room concept using free tools?
Yes, for simpler projects. Free options include Planner5D (basic 3D room planning), IKEA Home Planner (kitchen and bedroom layouts), and the free tier of RoomSketcher. For professional work with client presentations, most European designers invest in SketchUp Pro (approximately EUR 300/year), Palette CAD (popular in Germany and Austria), or full AutoCAD licences. The tool matters less than the process — follow the 8 phases regardless of which software you use.
What is the 60-30-10 colour rule and does it always apply?
The 60-30-10 rule divides a room's colour scheme into 60% dominant (walls, floors, large surfaces), 30% secondary (furniture, curtains, rugs), and 10% accent (accessories, art, statement pieces). It always applies as a starting framework, but experienced designers bend it intentionally — a maximalist room might shift to 50-30-20, while a monochromatic Japandi scheme might run 80-15-5. The point is to have a deliberate ratio rather than random colour accumulation.
How much should I charge clients for a room concept in 2026?
European market rates in 2026 range from EUR 650-1,500 per room for a complete concept, or EUR 85-220/hour depending on experience and location. An initial consultation runs EUR 180-500 for 2-3 hours. Designers in prime markets (Munich, Milan, Paris, London) command the upper end, while emerging markets (Bucharest, Warsaw, Lisbon) sit at the lower range. Always price by room or project — hourly billing penalises efficient designers.
What is the biggest mistake designers make when developing room concepts?
Skipping the analytical phases (1-3) and jumping straight to product selection. When you choose a sofa before understanding traffic flow, or pick paint colours before assessing natural light, you create a design that looks good on a mood board but fails in reality. The second most common mistake is treating rooms in isolation — the living room, hallway, and kitchen in a modern flat must work as a connected whole, not three separate Pinterest boards.