How to Create Interior Design Mood Boards That Clients Actually Understand (2026 Guide)
You've spent hours curating the perfect mood board—every image carefully chosen, the colour palette spot-on, the overall vibe exactly what your client asked for. Then you present it, and instead of excitement, you get confusion: "This looks lovely, but what does it actually cost?" or "Can we even find these pieces?" The disconnect between beautiful inspiration and practical reality is where most mood boards fail, leaving you to explain, revise, and start over.
The problem isn't your design eye. It's that traditional mood boards live in a fantasy world where budgets don't exist and every Pinterest image magically translates to a real room. Your clients need more than aesthetic inspiration—they need to see how the vision connects to actual products they can purchase, with real prices from real retailers.
This guide shows you how to create mood boards that bridge inspiration and reality, using techniques that help clients visualise, understand, and approve your design direction without the endless revision cycles.
Why Most Mood Boards Fail to Connect with Clients
Beautiful mood boards don't automatically translate to client buy-in. You've probably experienced this: you present a stunning board with perfectly curated imagery, and your client's first response is uncertainty rather than enthusiasm. The gap between visual inspiration and practical implementation creates confusion, not confidence.
Traditional mood boards pull images from magazines, Pinterest, and design blogs—spaces that look amazing but offer no path to reality. Your client sees a gorgeous velvet sofa in dusty rose but has no idea if it costs €800 or €8,000. They love the brass lighting fixture but don't know if it's available in Europe or if it's a custom piece from a boutique American maker.
This information vacuum forces you into reactive mode. After presenting the aesthetic, you then have to source every single element, check availability, research prices, and often discover that half your inspiration pieces don't exist within the client's budget. You end up doing the sourcing work twice—once to create the mood board, and again to find realistic alternatives when clients see the actual costs.
The result? Clients who feel blindsided by budget realities, designers who waste time on double work, and projects that stall in the approval stage because no one knows what's actually achievable.
The Anatomy of a Mood Board That Actually Works
An effective mood board does two jobs simultaneously: it inspires with beautiful visuals, and it grounds that inspiration in accessible reality. The best mood boards show clients not just what the space could look like, but what it will look like with real products they can actually purchase.
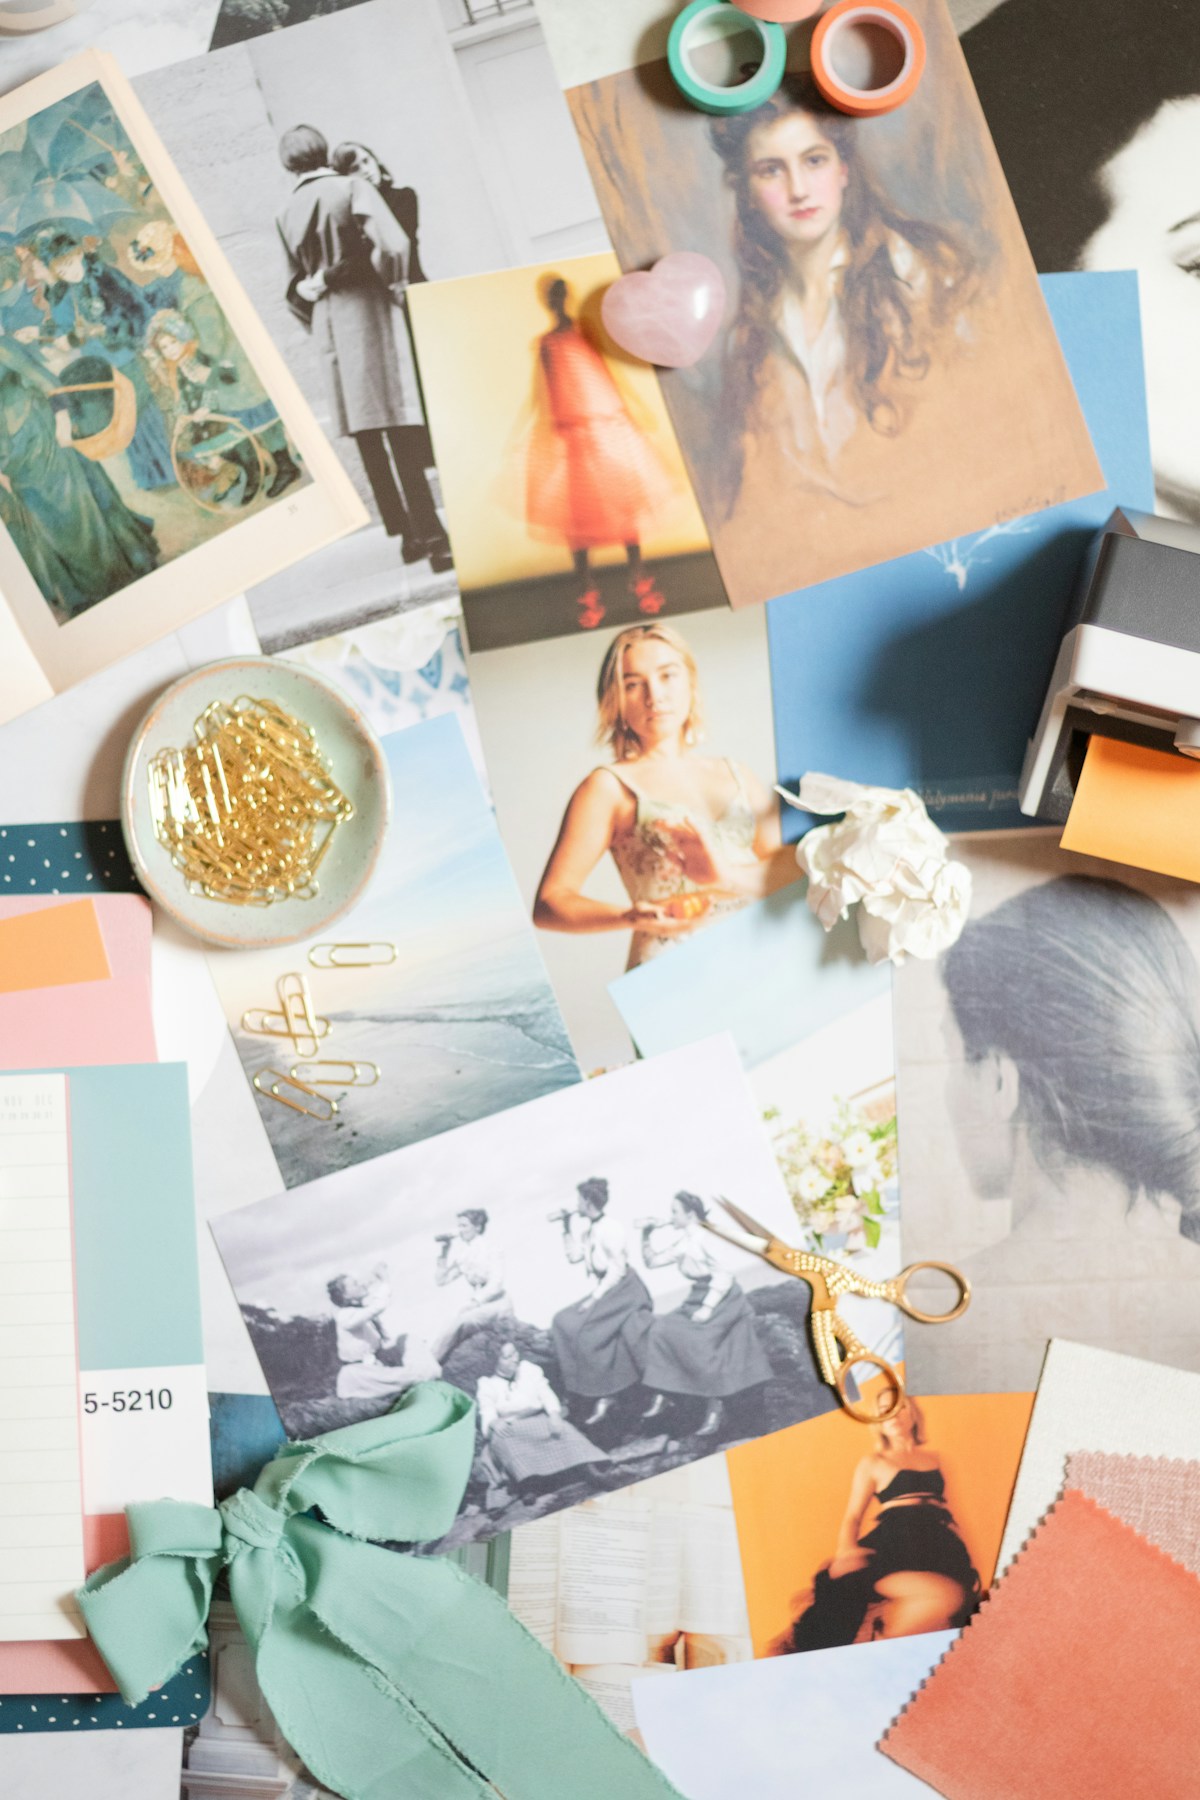
Start with your inspiration layer—the aspirational images that capture the mood, colour story, and overall aesthetic direction. These can still come from your usual sources: design magazines, Pinterest boards, architectural photography. This layer establishes the emotional tone and helps clients see the big picture vision.
Then add your reality layer: actual products with actual prices from actual retailers. A Westwing linen sofa at €1,450, not just a generic image of a linen sofa. A JYSK oak dining table at €599, not an unlabelled photo of reclaimed wood. This layer transforms inspiration into actionable design, showing clients exactly what they're approving and what it costs.
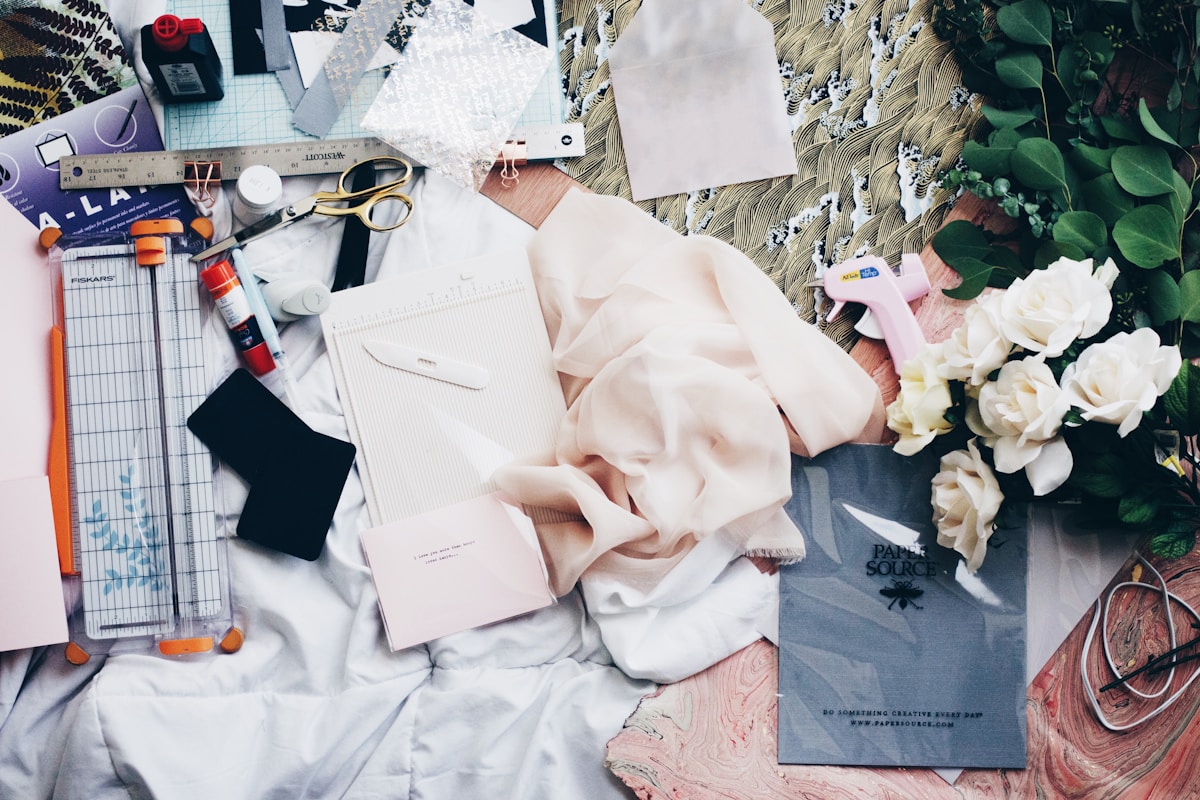
Include material samples when possible—fabric swatches, paint chips, flooring samples. Digital mood boards are convenient, but physical textures help clients understand how materials will actually feel in the space. Many European retailers like IKEA and Maisons du Monde offer free sample services, so take advantage of these resources.
Price transparency belongs on the mood board itself, not in a separate spreadsheet your client has to cross-reference. When every item shows its cost and source, clients can make informed decisions during the presentation rather than being surprised later. Transparent pricing builds trust and speeds up approval, because clients see that you've already done the homework on their behalf.
CTA: Stop creating mood boards in the dark. Join ArcOps to build mood boards with live product sourcing, real pricing, and direct links to European retailers—all in one platform. Start your free trial
Step-by-Step: Creating a Client-Ready Mood Board
Creating a mood board that combines inspiration with practical sourcing requires a systematic approach. Here's the process that consistently gets client approval without endless revisions.
Start with the client brief. Before you open any design tool, review your client's must-haves, nice-to-haves, and absolute no-gos. Note their budget range, preferred retailers (some clients only want IKEA, others specifically don't), and any practical constraints like delivery timeframes or furniture dimensions. This brief is your filter for every decision that follows.
Establish your colour palette and mood first. Choose 3-5 core colours and gather 5-8 inspirational images that capture the overall feeling. This gives you a clear aesthetic direction before you start sourcing products. Make sure at least half your inspiration images show complete rooms, not just individual objects—clients need to see how elements work together in real spaces.
Source your anchor pieces with real products. Start with the big-ticket items: sofas, beds, dining tables, major storage pieces. Search European retailers (IKEA, Westwing, JYSK, Maisons du Monde, Made.com) for pieces that match your aesthetic and fit within budget. Save the exact product with its price, dimensions, and retailer link. These anchor pieces define your design direction and establish the budget reality.
Build around your anchors with complementary items. Once your major pieces are selected, source the supporting elements: lighting, textiles, accessories, artwork. Keep matching your colour palette and checking prices as you go. If you find you're consistently over budget, adjust your anchor pieces rather than trying to squeeze savings from small accessories—that's where personality lives.
Organise your board with clear sections. Group items by room zone (living area, dining area) or by category (furniture, lighting, textiles, accessories). Add labels showing product names, retailers, and prices. A well-organised mood board reads like a visual shopping list, making it easy for clients to understand exactly what they're looking at and what each element costs.
Test your board before presenting it. Look at it from your client's perspective: Can they tell what each item is? Do they see prices clearly? Is the overall budget immediately obvious? If you have to explain too much during the presentation, the board isn't clear enough—revise it until it's self-explanatory.
Digital Mood Board Tools: What Works for Client-Facing Design

The tool you choose for mood board creation shapes both your workflow and your client's experience. Different platforms serve different purposes, and understanding their strengths helps you pick the right one for client-facing work.
Canva works well for designers who want complete visual control and don't need live product data. You can create beautiful, branded presentations with custom layouts and typography. The downside? Every product image, price, and detail is manually added and becomes static the moment you create it. If a product goes out of stock or changes price, your board doesn't update—you're responsible for catching and fixing outdated information.
Pinterest excels at inspiration gathering but fails at client presentation. It's perfect for your own research phase, building visual libraries of styles and ideas. But for client-facing mood boards, Pinterest lacks the structure and professionalism clients expect. There's no way to add pricing, no control over layout, and no way to create a cohesive presentation that feels like a curated design proposal.
Milanote sits between inspiration tool and presentation platform. It offers flexible canvas-style boards where you can combine images, notes, links, and text in a freeform layout. It's more organised than Pinterest and more flexible than Canva, making it useful for designers who want a digital corkboard aesthetic. But like Canva, all your product sourcing happens externally, and your board becomes a snapshot that won't reflect pricing or availability changes.
Integrated design platforms like ArcOps take a different approach: mood boards with live product sourcing built in. When you add a product from IKEA, Westwing, or other European retailers, the platform pulls current pricing and availability, keeping your board accurate as market conditions change. This eliminates the double-work problem—you source products once, they appear on your mood board with prices, and when the client approves, those same products flow directly into your procurement pipeline.
The right tool depends on your workflow. If you're creating one-off mood boards for small projects, Canva or Milanote might suffice. If you're presenting multiple mood boards per month and need to track products through to purchase, a platform that connects sourcing to presentation to procurement saves substantial time and reduces errors.
CTA: See how product-connected mood boards work. ArcOps shows you real-time pricing and availability from European retailers as you design—no more manual updates when products change. Watch a 2-minute demo
How to Present Mood Boards to Get Meaningful Client Feedback
The presentation is where mood boards either gain approval or spiral into revision cycles. How you frame and explain your design choices determines whether clients focus on the right questions or get distracted by irrelevant details.
Start with the big picture before diving into specific products. Walk through your inspiration images first, narrating the mood and aesthetic direction: "We're creating a warm, minimalist living space with natural materials and soft, earthy tones." Help clients see the overall feeling before you ask them to evaluate individual furniture pieces.
Then introduce your product selections zone by zone. For each area, explain your anchor piece and why it works: "This Westwing linen sofa in sand provides the neutral base we need, and at €1,450 it fits comfortably within your furniture budget, leaving room for statement lighting." Connect every product choice back to either the client's brief or the overall design narrative. Clients approve designs when they understand the reasoning behind each decision.
Show the total budget clearly and early. Don't make clients hunt for the bottom line or mentally calculate costs as you present. Put the overall project cost at the top of your mood board or on the first slide of your presentation. This transparency prevents the dreaded moment where clients love everything visually but panic when they finally see the total cost.
Ask specific questions to get useful feedback. Instead of "What do you think?" try "Does this colour palette feel warm enough for the space you described?" or "The sofa has a 6-week lead time—does that work with your timeline?" Direct questions produce actionable responses instead of vague reactions like "It's nice but not quite right."
Share the mood board digitally so clients can review it on their own time. After your live presentation, send them the file or link and give them 24-48 hours to process what they've seen. Many clients need time to sit with a design direction before they're ready to approve it. Make it clear you're available for questions during this review period.
Document their feedback systematically. If clients request changes, clarify exactly what they want adjusted: Is it the colour palette? A specific product? The overall style? Get specific about what's working and what isn't, so you can make targeted revisions rather than guessing what "just not quite right" actually means.
From Approved Mood Board to Purchased Products
An approved mood board is only valuable if it translates smoothly into product procurement. The gap between design approval and actual purchase is where many projects stall, especially for freelance designers who don't have established procurement systems.
The traditional approach treats mood boards and purchasing as separate workflows. After approval, you manually recreate your product list in a spreadsheet, re-look up prices (which may have changed), check stock availability (which may have shifted), and send purchase links to clients or handle orders yourself. This double-handling wastes hours and introduces errors when products are misidentified or specifications get lost in translation.
A better approach keeps your sourced products connected through the entire workflow. When you build your mood board with real products from specific retailers, that product data should flow directly into your procurement process without re-entry. The Westwing sofa you showed in your mood board becomes the Westwing sofa in your purchase order, with all specifications, dimensions, and delivery information intact.
For clients who prefer to purchase items themselves, provide them with a organised shopping list pulled directly from your approved mood board. Each item should include the product name, retailer, exact price you quoted, direct purchase link, and any relevant specifications (colour, size, quantity). Make the list easy to follow so clients can complete purchases without constant follow-up questions.
If you're managing procurement on behalf of clients, the approved mood board becomes your purchasing blueprint. Place orders systematically, starting with items that have the longest lead times (custom furniture, imported pieces) and working toward quick-delivery items (accessories, textiles). Track order confirmations and expected delivery dates in a central system so you can update clients on progress without digging through email threads.
Consider using platforms that bridge design and procurement natively. ArcOps, for example, turns approved mood boards into actionable purchase orders with a single click—every product you sourced during the design phase is already in the system with current pricing, and you can generate client-ready purchase orders or shopping lists without re-entering data. This kind of connected workflow eliminates the manual handoff between design and procurement, reducing errors and saving substantial time on every project.
Set clear expectations with clients about procurement timelines. European furniture retailers typically show delivery estimates at the product level, but actual timelines can vary based on stock availability and shipping locations. Build a buffer into your project schedule for delivery delays, especially for items coming from IKEA's regional warehouses or Maisons du Monde's central distribution.
Key Takeaways
- Traditional mood boards fail because they separate inspiration from practical reality—clients need to see real products with real prices, not just beautiful images
- Effective mood boards combine an inspiration layer and a reality layer—aspirational visuals plus sourced products from actual European retailers with transparent pricing
- Start with the client brief, establish your aesthetic direction, then source anchor pieces before building out supporting elements—this systematic approach keeps you on budget and on brief
- Choose digital tools based on your workflow needs—static presentation tools like Canva work for one-off boards, while integrated platforms save time on repeated projects by connecting sourcing to presentation to procurement
- Present mood boards by starting with the big picture, explaining product choices clearly, showing total budget early, and asking specific questions—this approach gets meaningful feedback instead of vague reactions
- Bridge the gap between approval and purchase by keeping product data connected through the workflow—don't recreate your shopping list manually when your mood board already contains every specification you need
CTA: Build faster, present clearer, procure easier. ArcOps connects mood board creation to product sourcing to final procurement in one workflow—no double data entry, no outdated prices, no manual shopping lists. Try it free for 14 days
Frequently Asked Questions
How many products should I include in a mood board?
Include enough to fully furnish the space without overwhelming clients. For a living room, that typically means 10-15 items: major furniture pieces (sofa, coffee table, side tables, storage), lighting (ceiling and task lighting), textiles (curtains, cushions, throws), and 2-3 accessories. Don't pad your board with dozens of tiny items—focus on pieces that meaningfully contribute to the design. If you're designing multiple rooms, create separate mood boards for each space rather than cramming everything into one overwhelming presentation.
Should I show clients multiple mood board options or just one direction?
This depends on how clear the client brief is and your read of the client's decision-making style. If the brief is specific and you're confident in the direction, present one well-developed mood board that clearly addresses their requirements. If the brief leaves room for interpretation or the client seems uncertain about their style preferences, present 2-3 distinct options—but make sure each option is genuinely different in aesthetic direction, not just minor variations on the same theme. More than three options creates decision paralysis rather than helpful choice.
What if products go out of stock between mood board approval and purchase?
This is why product-connected mood boards matter. If you're using static tools like Canva, you won't know about stock issues until you try to purchase, forcing last-minute substitutions. If you're using a platform that tracks product availability, you'll get alerts when items go out of stock, giving you time to propose alternatives before the client expects to start ordering. Always have backup options identified for your key pieces—especially from high-turnover retailers like IKEA and Maisons du Monde—so you can quickly pivot without redesigning the entire space.
How do I handle clients who love the aesthetic but panic at the total price?
First, make sure you've discussed budget before creating the mood board—surprises at the presentation stage signal a communication failure earlier in the process. If the client genuinely didn't understand budget realities, use the mood board to educate them by showing where costs concentrate (usually anchor furniture) and where savings are possible (accessories, textiles, some lighting). Offer to revise the board with adjusted anchor pieces while keeping the same aesthetic direction. Many times, swapping a €1,800 sofa for a €1,100 alternative solves the problem without compromising the design. Show clients you're flexible and focused on their budget reality, not attached to specific expensive pieces.
Can I reuse mood board elements across different client projects?
You can reuse your aesthetic research and product knowledge, but always customise the final mood board to each specific client. If you discover a great Westwing sectional that works perfectly for one project, absolutely keep it in mind for future clients with similar needs and budgets. But don't copy-paste entire mood boards between clients—each project deserves a tailored presentation that addresses that client's unique brief, space, and preferences. Clients can tell when they're seeing a template rather than a custom design, and it undermines trust in your professional judgement.